How to do nail extension (step-by-step)
Broken nail?
Are you whipped because your nail broke?
Don’t worry, in this video I will show you step by step how to rebuild a nail when it breaks or when I want to shorten the free edge. Before continuing with the video, I invite you to subscribe to the newsletter if you haven’t already done so you won’t miss any news.
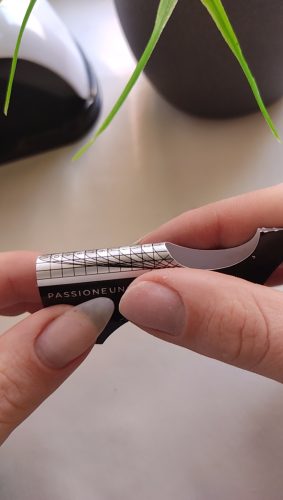
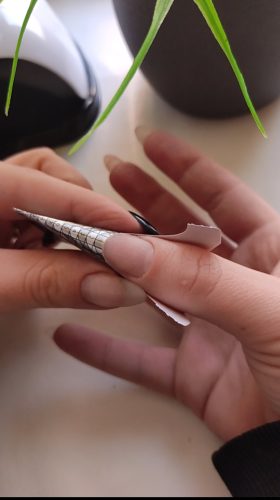
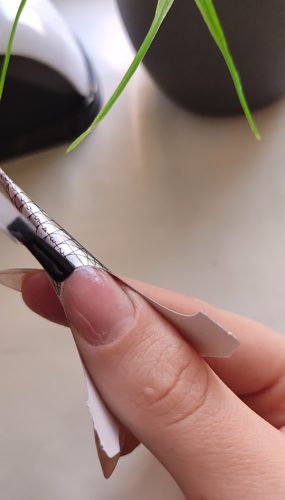
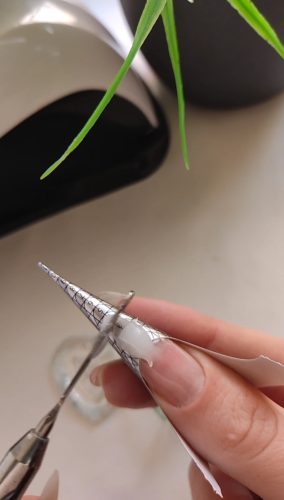
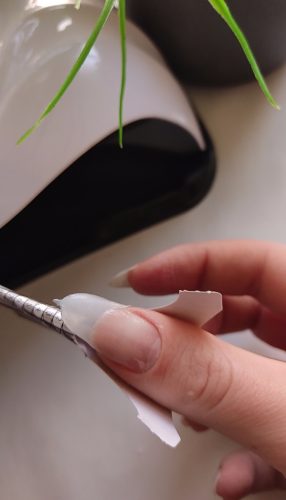
Step 1 - Round the nail form
I round the nail form to make it adhere perfectly to the nail.
The nail form must be straight and firmly under the nail.
Step 2 - Prepare the nail

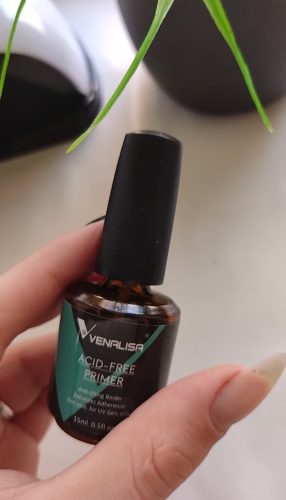

My nail has already been buffered. So I can prepare it with the Nail Prep Dehydrator & Acid Free Primer.
I prepare the nail with the Nail Prep Dehydrator & Acid Free Primer.
You can find the Nail Prep Dehydrator & Acid Free Primer with -10% discount code MAMMAMIA following this link
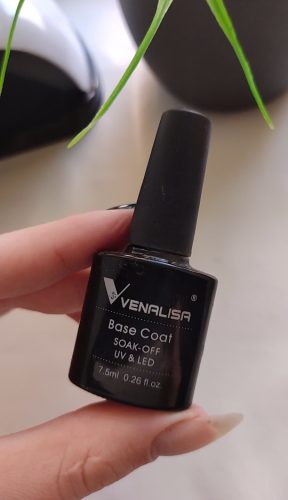
Step 3 - Apply the base coat

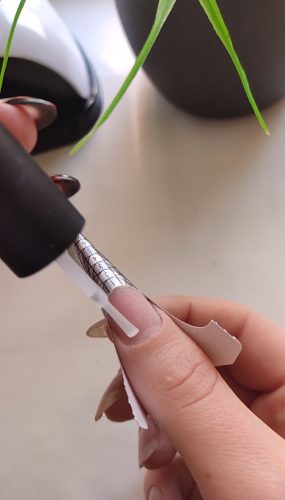
Step 4 - Create the nail extension
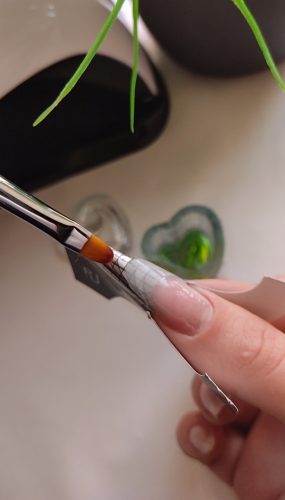
After having applied the Base Coat I can now create the nail extension.
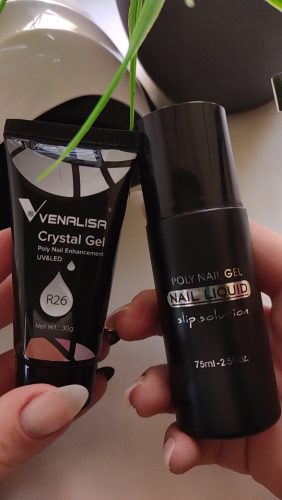
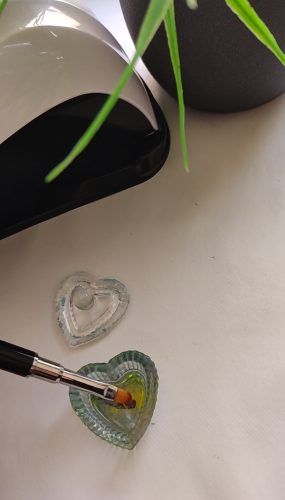
I prepare the Acrylic Gel, the Slip Solution and the Acrylic Gel Brush.
I lightly moisten the brush in the Slip Solution and I work the Acrylic Gel.
You can find the Acrylic Gel with -10% discount code MAMMAMIA following this link
You can find the Slip Solution with -10% discount code MAMMAMIA following this link
You can find the Acrylic Gel Brush with -10% discount code MAMMAMIA following this link
You can find the Acrylic Container following this link
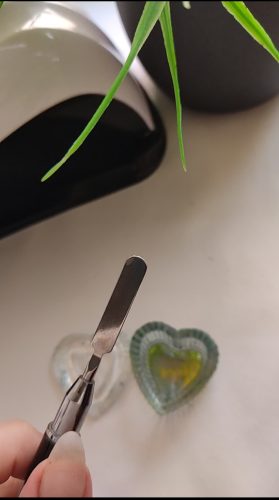
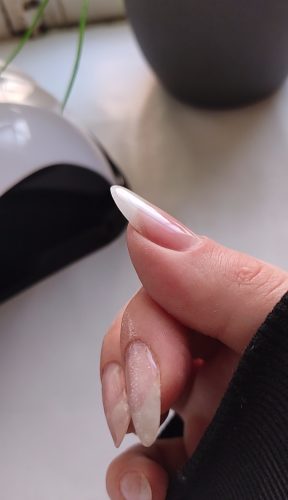
Step 5 - Shape the nail
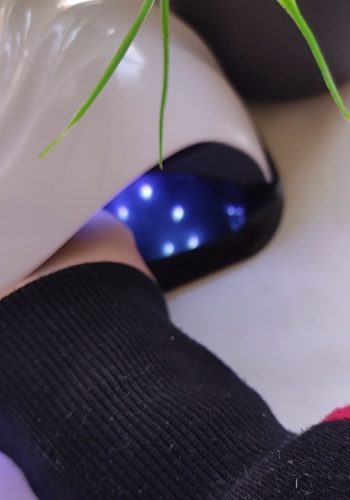
After having cured in the lamp 60 seconds, I carefully remove the nail form.
With a 180/240 Nail File I refine the nail shape.
You can find the 180/240 Nail File following this link

Well Done!
Now that the nail is extended, you can choose to apply a Strong Base, a Builder Gel, Acrylic Gel or anything you want.
Hope this article was useful. Don’t forget to subscribe to the newsletter so you will not miss any new article.
See you soon,
Rita